keanegoh1.github.io-DFAB
My Journey in Digital Fabrication & Prototyping Fundamentals (EP1000)
About Me
Hello! I am Goh Yi-Herng Keane currently studying in my 3rd year for a Diploma in Architecture in SP. Throughout my time in SP, we are given a chance each year to pick up an elective module where we can learn new skills that can potentially be useful in our future. For my current Year 3 Elective Module, I have chosen Digital Fabrication (EP1000) as my elective module, and this webiste is a compilation of the fun things I've picked up in this module!
This elective is organised around a self-directed project where students develop design thinking and prototyping skills. Students will be guided through a design thinking process followed by the development of a functional prototype. Students will apply design and digital fabrication process for developing a functional prototype that integrates these processes. Students will practise these skills in a design studio setting.
Below are some of the places you can explore on my website!
Make yourself comfortable!

My Blogs & Documentations
3D Printing
We learnt how to create a piece on the modelling software Autodesk Fusion360, by imposing the chosen image for the chess piece, and tracing the outline followed by extruding out the 2d piece to create the chess piece in a 3d form.

After we extracted the form of the chess piece, we then load the chess piece file into Ultimaker Cura, the software that prepares the files for 3d printing, to ensure that the dimensions were correct, and to ensure that the pieces were able to be printed with sufficient support such that the piece does not collapse during printing.

Once arranged well, we then print it!


Laser Cutting
Finishing the 3d Printing, we moved on to learn laser cutting, an important skill in producing pieces that helps to build up our prototype, again using Fusion360.
The drawing is then saved as a DXF file, which we import it into CorelDraw that assists us in cutting and scoring it on the wooden board provided. I learn't that the each method, cutting and scoring, are identified by colour codes, red being cut, and green being score.


After cutting, all I needed to do is to assemble and I get my musical box...


Arduino Uno
I also got to learn Arduino Programming. The Arduino Uno is an open-source microcontroller board that is equipped with sets of digital and analog input/output pins that may be interfaced to various expansion boards and other circuits.

Input and Output Devices
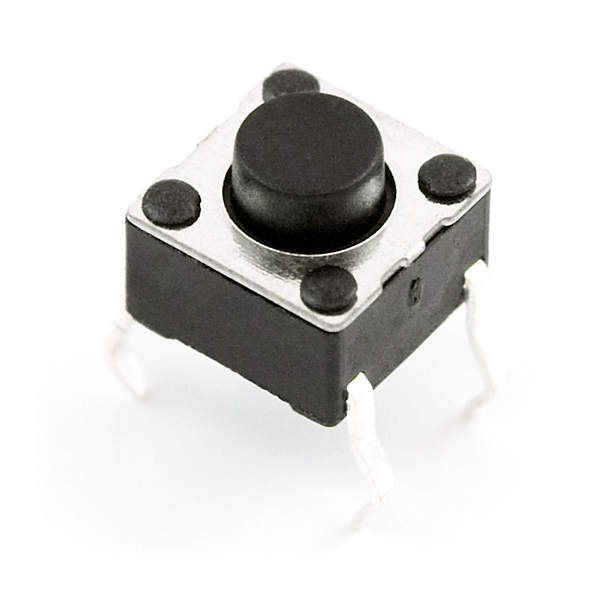
An input device is connected to the Arduino Uno that is programmed through the Arduino Uno while an output device has information sent to it. The button in this case is used to operate the LED bulb
Below shows an example of the LED bulb.
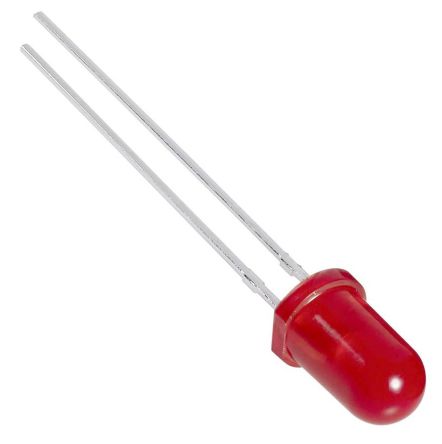
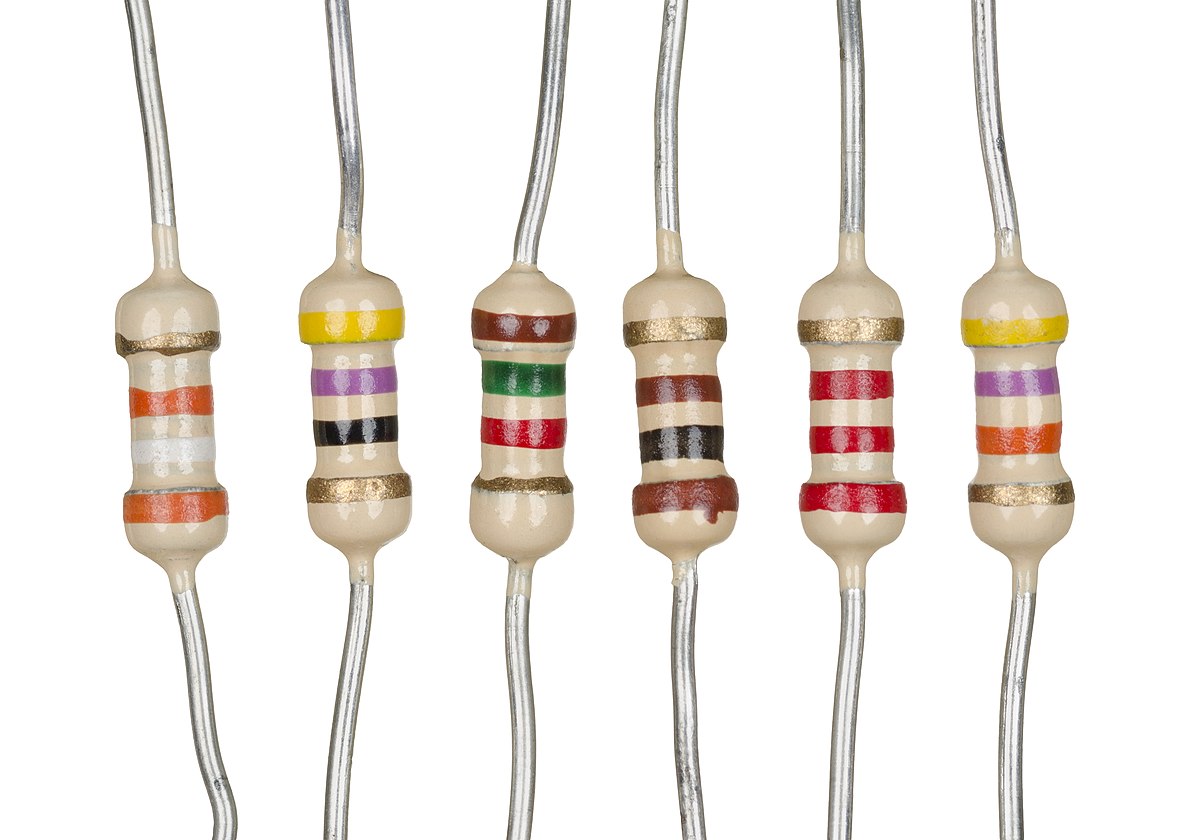
As a push button switch is a small and sealed mechanism that completes an electric circuit when you press on it, a resistor is needed to step-down the current to allow it to transmit through and alternate with the LED bulb.
With the items above, I used tinkerCAD to simulate the entire circuit with the simple coding given below, by alternating the current to allow the button to work simultaneously with the LED bulb such that when activated, the current flows through the alternate route through the LED bulb that lights it up.

Arduino Coding
int buttonState = 0; void setup() { pinMode(2, INPUT); pinMode(13, OUTPUT); } void loop() { buttonState = digitalRead(2); if(buttonState == HIGH) { digitalWrite(13, HIGH); } else { digitalWrite(13, LOW); } delay(10); }
Module Project Documentation
For our module project, I have decided to design a Christmas tree designed Mood Lighting.
This project would require...
- Arduino Uno
- Breadboard
- Neopixel Strip (4 Lights)
- Pushbutton
- Jumper Pins
Design Process
The software I have decided to use as part of my design phase was SketchUp, a modelling software.
Using SketchUp, I drafted a rough model of how the design would look like as shown below, by creating 2 parts, first the base board, then the second being the acrylic mood piece that holds the christmas tree design to it, which I will use a separate software to create.


For the 2nd piece, I opted to use AutoCAD to generate the design of the Christmas Tree as well as export both the SketchUp Base pieces and Christmas Tree design to DXF files, preparing them for laser cutting.


Arduino Programming
Before carrying out the actual live programming, I used TinkerCAD to help simulate and test the entire coding experiment, as well as wiring as shown below.

Making use of prior prepared basic coding for NeoPixel Strips, I added on to it different types of coding that helped to generate the outcome I wanted, for example,

Adding multiple colour codes that changes on a click of the pushbutton, in total 6 different colours and a "Black/Blank" colour that acts as an "off" section.

This set of coding then loops the entire process back to allow for the colours to repeat themselves and can operate separately as long as theres a power supply connected to it.
Assembly
Now that both the Model and the Programming works, it comes to the assembly part...
Assembling the Arduino Circuit and the Base box


Then creating a platform base for the NeoPixel strip to rest on to produce the light straight up to the Acrylic


The Final Product!

Testing the Lights!
Green Light

Orange Light

Red Light

Blue Light

Magenta Light

Yellow-White Light
